
Our DIY Kitchen Chalkboard Wall

Note: The following content may contain affiliate links. See our full disclosure here.
It’s been years since I’ve picked up a paintbrush. I was so scared to mess this up. Scared to get paint on the ceiling, and on the floor.
Is one pint enough?
I had all the fears every new DIYer has!
But I really wanted to create a chalkboard wall in my kitchen.

Chalkboard Paint Supplies
After talking and dreaming about this DIY project for a while, I headed to Lowe’s on a whim.
I found a can of chalkboard paint for $14.98!

I honestly thought hard about using Magnetic paint, but I don’t even use magnets now. I envisioned using this wall for doodles and dinner menus!
Next, I went shopping around for paint supplies.
Here’s everything I used:
- Mini Paint Roller Set
- Angle Paint Brush
- Brush Handle (Dollar Tree)
- Painter’s Tape
- Painter’s Gloves
- Lawn & Leaf bags (for protecting surfaces)

I purchased a new black light switch cover too because I didn’t want to paint the one I removed. It was only $5 on Amazon!
I didn’t use a primer either. I painted right over the Flat Agreeable Grey that’s on our walls.

We will eventually have to repaint everything, so this project was a perfect way for me to gain some confidence.
How to Paint Like A Pro
I used the Angle brush at first to paint along the edges, then I used my mini roller brush to fill in the gaps.
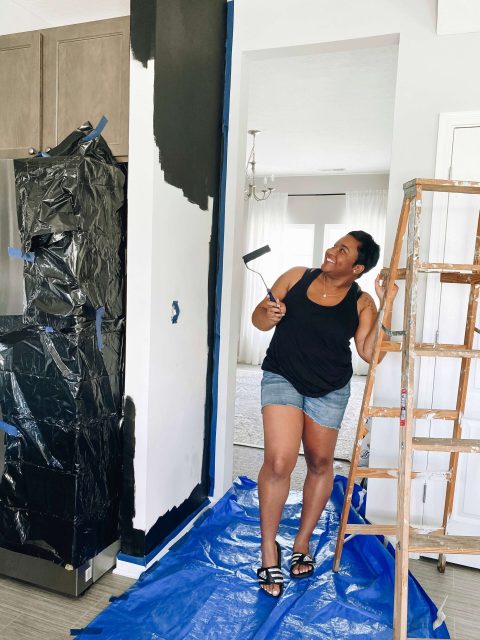
I have to say, once that first coat of paint went on it felt amazing!!!
I couldn’t believe I was actually doing it — I was bringing my vision to life, one stroke at a time.
I applied two coats as recommended, and let it dry for several hours.
The last and final step is to “season” your wall!
I took Crayola chalk and scrubbed it on its side up and down, left and right.


This will make the chalkboard paint function like a real chalkboard, so you can erase things easily after each use.
After I washed all that chalk off with a damp microfiber cloth, it was time to doodle!

My boys are loving our new kitchen chalkboard wall and I love how easy and beginner-friendly this DIY was for me!

Now that I have a permanent place to write our weekly meals, everyone can stop asking me “what’s for dinner?”
Share & Comment Below!


